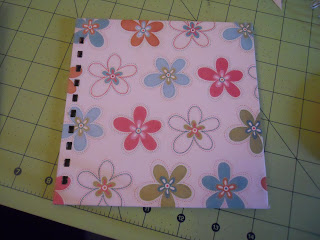
To make this notebook, you will need:
- Two 6 inch squares of chipboard
- Two 7 inch square pattern paper (outside cover)
- Two 5-3/4 inch square paper (inside cover)
- Twenty-five - 5.75 inch paper
- 3/4 inch Zutter O-wires
- wire cutters
- Zutter Bind-It-All
First, score the two 7 inch squares 1/2 on all sides. (This will make it easier to center the chipboard on the paper.) Next, apply adhesive to each 7 inch square of pattern paper. I used a tape runner on the center. Then I applied red tacky tape to the edges. Tacky tape is very strong.
After the edges have adhesive on them fold them to the center. Do not smooth down the corners.
Pinch the corners together. Then, cut the excess away, and smoot with a bone folder.
Attach the inside cover with adhesive.
Next, set the Bind-It-All to C for the cover.
Insert the cover. Pull the lever to punch the holes.
Assemble the notebook.(back cover with outside facing up, front cover with inside facing up, inside paper) Make sure holes line up. Insert the O-Wires.
Place the assembled notebook into the Bind-It-All so that the O-wire open end is flat against it. Pull lever.
The notebook is completed. Embellish the notebook to your liking.
Here is the completed notebook.


